After trying out several different NY-style dough recipes, my two favorites were from Adam Ragusea, and Blaine Parker, the author of Free the Pizza. (His book is a must-have for any beginner home pizza makers.)
I then combined parts of both and made tweaks to suit my taste, and came up with this recipe below.
Kevin's NY-Style Pizza Dough Recipe
This is an easy-to-make NY-style pizza dough. It's all handmade with no special equipment needed.
Servings: 3 12"-14" Pizzas
Ingredients
- 638 grams Bread Flour (About 4½ cups) (King Arthur bread flour recommended.)
- 1½ tbsp Granulated Sugar
- 2 tsp Salt
- 1 tbsp Active Dry Yeast
- 1¾ cups Luke Warm Water (90-100 degrees F - don't go over 120 degrees or the yeast will start to die off)
- 3 tbsp Extra Virgin Olive Oil
Instructions
- Whisk salt into flour in a large bowl.
- Stir sugar into warm water to dissolve it.
- Add yeast to warm water and give it a little stir with your finger. In 1-3 minutes it should bloom. You'll know it when you see it. If nothing happens in five minutes, your yeast is dead, and you need to start over with new yeast. See the video below for yeast that is blooming like crazy.
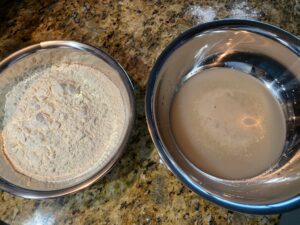
- Add olive oil to yeast mixture.
- Pour the water / sugar / yeast / oil mixture into the flour & salt.
- Briskly stir with a spatula until a shaggy ball forms.
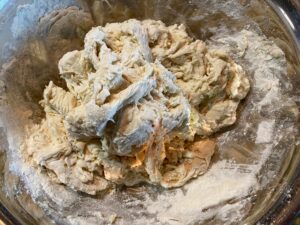
- On a lightly floured work surface (I use my kitchen counter) knead the dough by hand for 10-12 minutes.
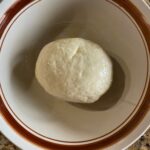
- Weigh the dough ball, and then divide by three. Make the one big dough ball into three separate equal size dough balls.
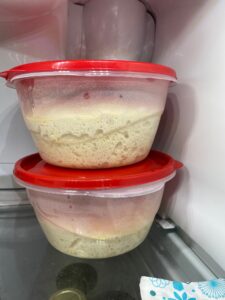
- Get three storage containers. There's only two in the photo, but you are using three. (I like Rubbermaid - pictured.) Pour some olive oil into each of the,. Rub it around the bottom, and just a little bit up the sides. Place one dough ball inside, roll it around in the oil, then cover. Place in refrigerator for at least two days. Three days is best. This is called a Cold Ferment.
Video
Notes
1. The video above demonstrates how the yeast looks when it is blooming.
2. I use King Arthur Bread Flour.
3. It seems that most people prefer IDY (Instant Dry Yeast). I have tried both IDY and ADY (Active Dry Yeast), and feel that I get better results with ADY. It seems to get a better rise, and it tastes better - kind of like sour dough because I use three times the amount of most recipes.
4. I measure the water temperature with an instant-read thermometer.
5. To knead by hand, gather the dough into a ball, then fold the bottom right quarter away from you. Turn the dough a quarter turn counterclockwise and push forward with the heel of your hand. Continue to turn, fold, and knead. The dough's texture will be coarse at first. As you continue kneading in a steady rhythm for 10 minutes, the dough will become smooth and pliable, which indicates that the necessary gluten has been developed.
6. I like using the plastic containers you see in the above photo because it already starts the dough with a round shape. Just be sure to carefully remove it and place it onto the floured counter to start forming the pizza round that will become the thin crust. See "How to Form the Pizza Round" here.


Bri and Aaron
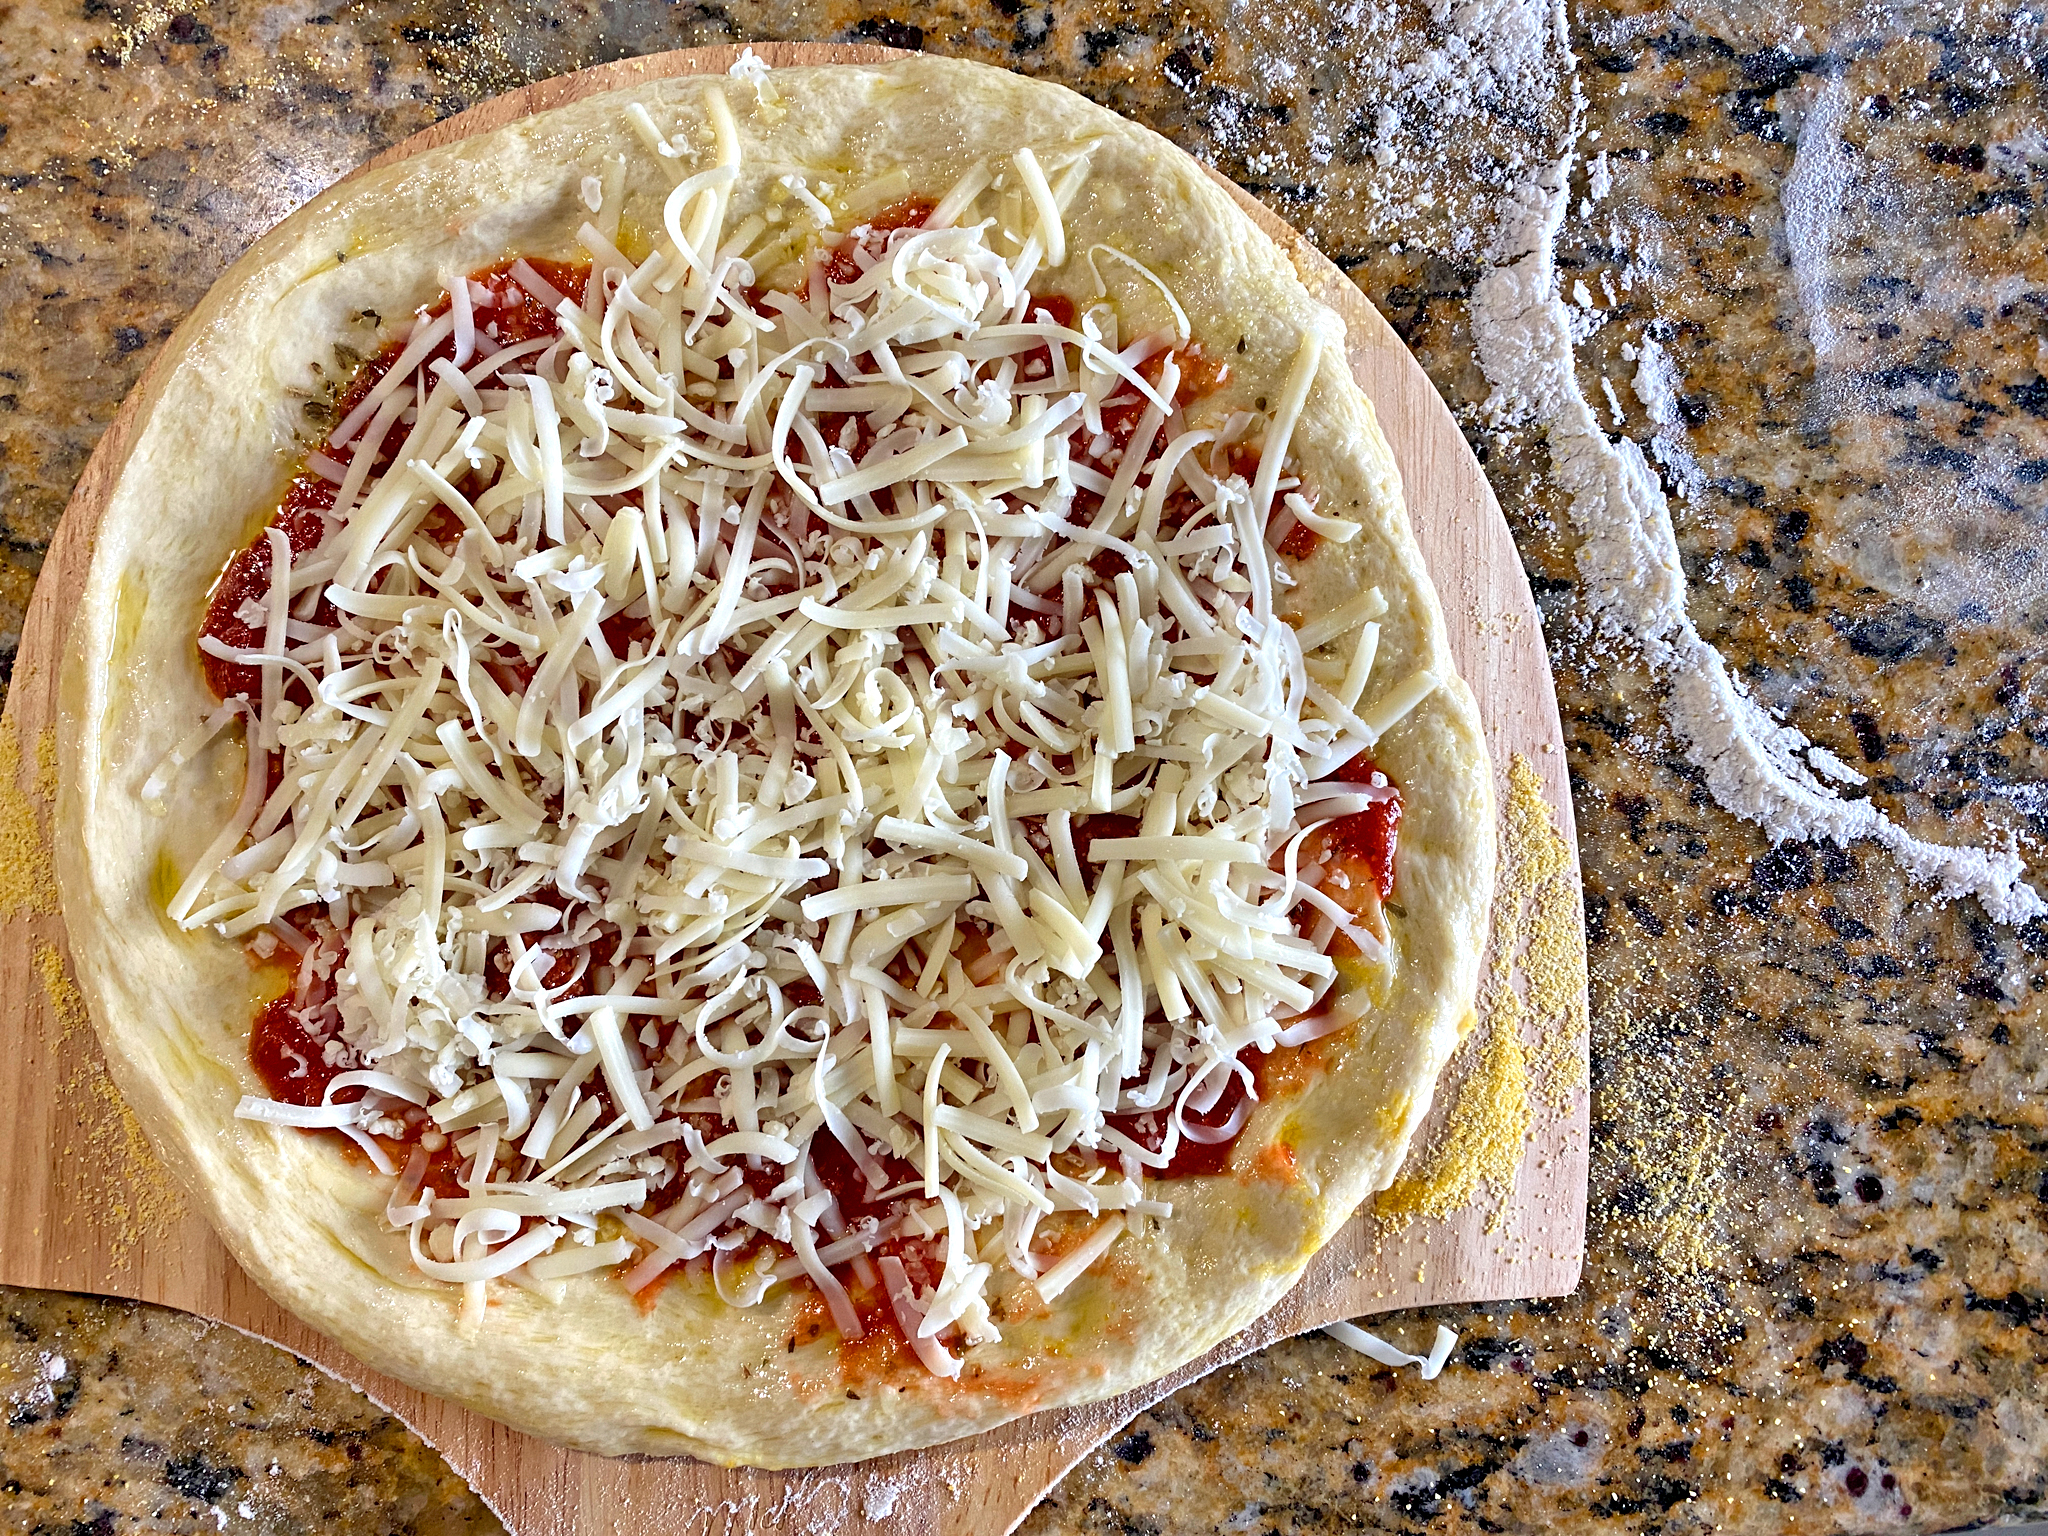
Thank you so much Kevin for sharing such informative and interesting information on your blogs. We made your NY- Style
Pizza dough for the weekend and they turned out great. The dough was full of flavour, nice, light and very easy to prepare. The step by step recipe is very clear and easy for any ability level, of home cook to follow. We will continue to check in on your blog frequently for new creations!
Kevin Godbee
Thanks for trying it out!